
Measure your window
You need two measurements for each window: the length and width. Using a tape measure, find the length and width that you want the shade to cover. You can browse the standard width options, or get custom shades.

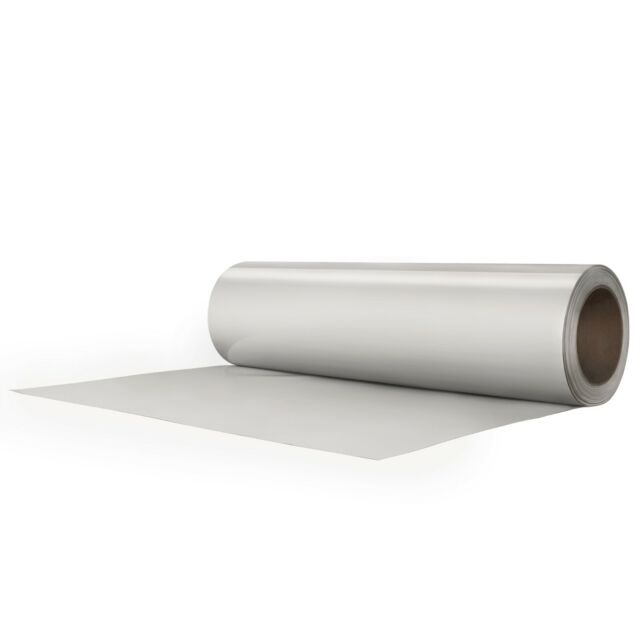
Unwrap your shade kit
When you receive your shade, you will see a shade, mounting brackets, and screws. Pleated shades will come with a tensioning tube attached to the string.
Mark the wall for placement
Use previous mounting holes as a guide, or measure and use a level to plan where you will screw in the mounting brackets.
Add mounting brackets
With a screwdriver, screw in the mounting bracket to the RV wall.

Snap shade into brackets
Grab your shade. To lock it into the mounting brackets, tilt it at an angle to hook in the front edge. Then press the shade up to snap it into the back of the bracket.

Add tension string
If you are installing roller shades, you can skip this step. For pleated cotton, decide how far you want the shade to go down. Mark that spot on both sides. This is where the roller tube will attach to the wall, and hold the strings tight.

Video demo
For visual learners, here's a video guide that we thought was helpful.